Let’s face it, nobody enjoys staring at dingy grout lines. Over time, dirt, grime, and even mold can build up, making your once-beautiful tile floors look dull and tired.
But before you resign yourself to ripping out your grout or shelling out big bucks for professional cleaning, fear not! There are many effective ways to whiten grout again, all from the comfort of your own home.
Identifying the Culprit: What’s Staining Your Grout?
The first step is to figure out what’s causing the discoloration. Here are the common culprits:
- Dirt and grime: This is the most likely culprit, especially in high-traffic areas. Everyday dirt and dust can easily accumulate in those tiny crevices.
- Mold and mildew: These thrive in damp environments, so bathrooms and kitchens are prime targets. They often appear as black or greenish stains.
- Hard water stains: These are caused by mineral deposits left behind by mineral-rich water. They typically appear as white, chalky streaks.
Gathering Your Cleaning Arsenal: Natural vs. Store-bought Solutions
Now that you know the enemy, you can choose your weapon. There are two main approaches: natural cleaning solutions or store-bought products.
- Natural Cleaning Solutions: These are often gentler on your surfaces and the environment. Popular options include:
- Baking soda: A mild abrasive that can help scrub away dirt and grime. Mix it with water to create a paste.
- White vinegar: A natural disinfectant that can tackle mold and mildew. Use it full strength or diluted with water.
- Hydrogen peroxide: Another effective option for mold and mildew, especially for stubborn stains. Use a 3% solution.
- Store-bought Grout Cleaners: These can be more potent than natural solutions, but be sure to choose one suitable for your type of grout (epoxy grout needs a special cleaner). Always follow the manufacturer’s instructions carefully, as some cleaners can be harsh.
Safety First: Gearing Up for Battle
Before you dive into cleaning, protect yourself and your surfaces.
- Rubber gloves: These will shield your hands from harsh chemicals and protect your skin.
- Eye protection: Especially important when using bleach or other strong cleaners.
- Ventilation: Open windows or doors to ensure proper air circulation, especially when using strong chemicals.
- Test in an inconspicuous area: Always test any cleaning solution on a small, hidden area of your grout first to check for discoloration or damage.
Grout Rescue Mission: Time to Tackle the Stain
Now that you’re prepped and ready, let’s get cleaning!
- Clear the Area: Remove any rugs or furniture that could obstruct your cleaning.
- Sweep or Vacuum: Get rid of any loose dirt or debris that could scratch your tiles.
- Pre-clean the Tiles: Mop your floor with warm water and a mild dish soap solution. This removes surface dirt and grime, making it easier to tackle the grout.
- Apply Your Chosen Cleaner: Following your chosen method (natural or store-bought), apply the cleaning solution directly to the grout lines.
- Let it Sit: Allow the solution to work its magic for the recommended time (usually 5-10 minutes). For stubborn stains, you may need a longer time.
- Scrub-a-Dub-Dub: Get in there with a stiff-bristled brush (not metal!) and scrub the grout lines thoroughly. A toothbrush works well for those hard-to-reach areas.
- Rinse and Repeat: Rinse the area thoroughly with clean water to remove any cleaning solution residue. You may need to repeat the process for heavily stained grout.
- Neutralize (if using bleach): If you used a bleach solution, follow up with a rinse of clean water mixed with a little white vinegar to neutralize the bleach.
- Dry Completely: Allow the floor to dry completely before walking on it. You can use a clean towel to speed up the drying process.
Extra Tips for a Sparkling Finish
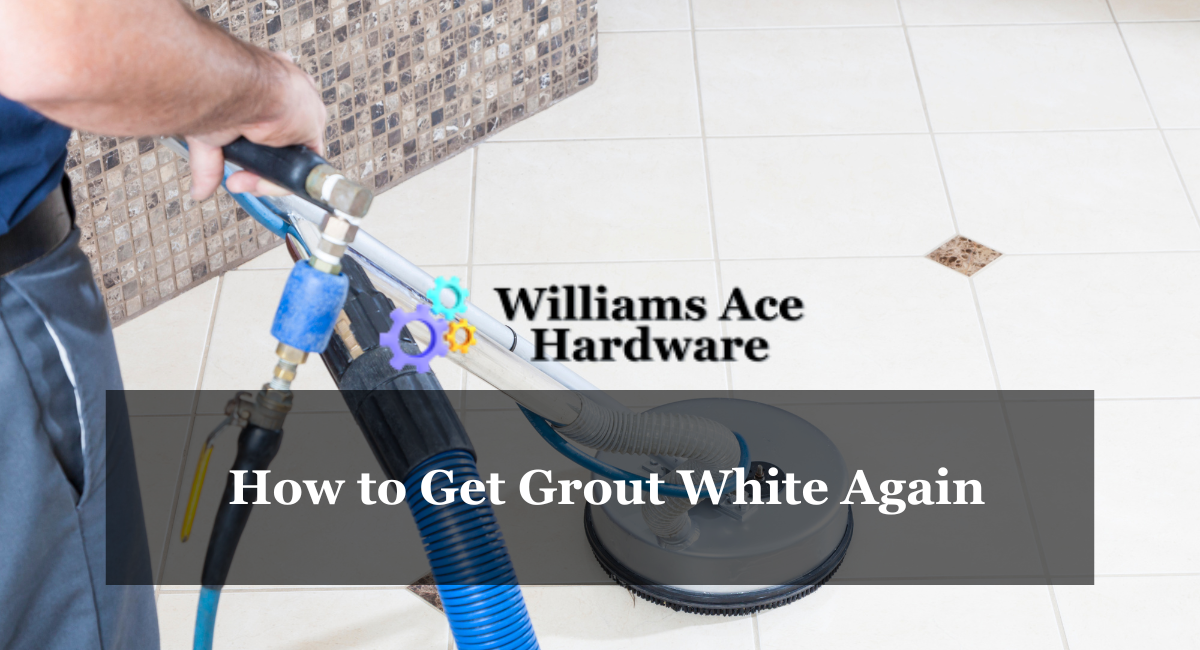
- For heavily stained grout: Consider using a grout steamer. These can be rented from most hardware stores and are particularly effective for mold and mildew removal.
- Preventative Measures: Once your grout is clean, seal it with a grout sealer. This will help prevent future staining and make cleaning easier.
- Regular Maintenance: Wipe up spills promptly and mop your floors regularly to prevent dirt and grime build-up.
The Grout Whisperer: Maintaining Your Bright White Lines
By following these steps and adopting a regular cleaning routine, you can become the master of your grout destiny! Here are some additional tips for maintaining those sparkling white lines:
- Doormats are your friend: Place doormats outside and inside entryways to trap dirt and debris before it gets tracked onto your floors.
- Clean up spills immediately: Don’t let spills sit and stain your grout. The faster you clean them up, the easier it will be.
- Consider a grout refresh: Over time, even with proper cleaning, grout can lose its shine. You can use a grout recoloring product specifically designed to restore the color and brighten your grout lines.
Celebrate Your Victory: Sparkling Grout and a Brighter Home
Restoring your grout to its former glory is a satisfying accomplishment. Not only will your floors look cleaner and brighter, but you’ll also have the satisfaction of knowing you tackled the job yourself, saving money and avoiding harsh chemicals.
So, grab your cleaning supplies, channel your inner grout whisperer, and get ready to enjoy the beauty of sparkling white grout lines once again!